
A Step-by-Step Guide to Headlight Restoration
Over time, headlights can become hazy, yellowed, or cloudy due to the sun’s ultraviolet rays, oxidization, and exposure to the elements. Not only does this diminish the overall appearance and resale value of your vehicle, but it also compromises your safety by reducing the effectiveness of your headlights. In this step-by-step guide, we will walk you through the process of headlight restoration.
To perform a successful headlight restoration, you'll need the following supplies:
- Masking tape
- Fine-grit sandpaper (400-800 grit)
- Headlight restoration kit (usually includes abrasive pads, polishing compound, and protective coating) such as SIMONIZ Platinum Heavy-Duty Car Headlight Restoration Kit
- Microfiber towels
- Spray bottle or hose
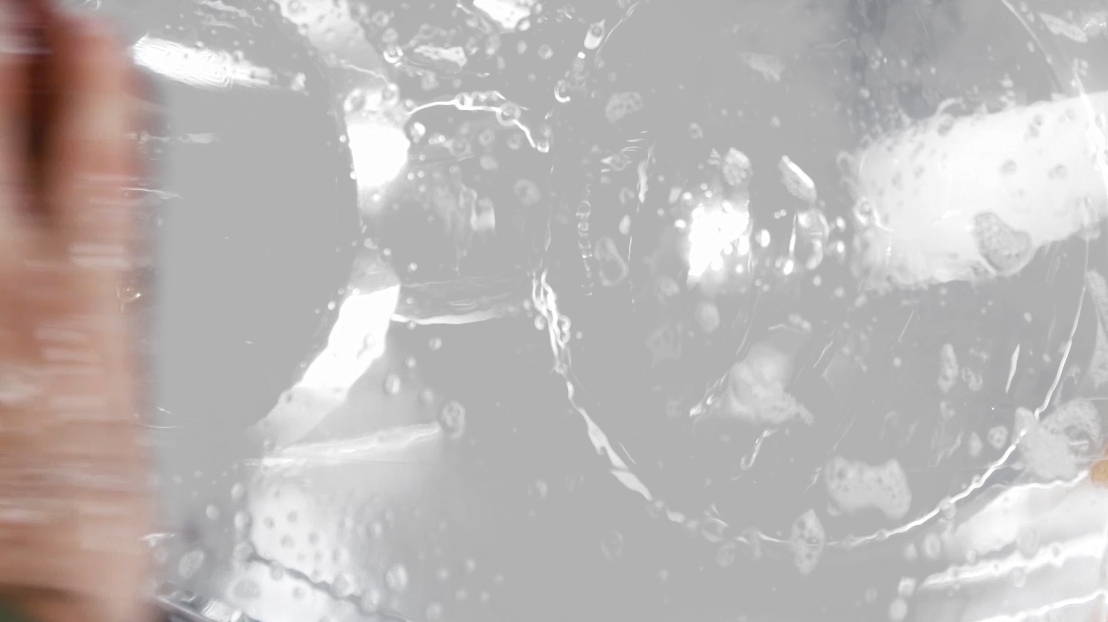
1. Clean with soap and water:
First, prepare your headlights by cleaning them with soap and water. Then dry thoroughly.
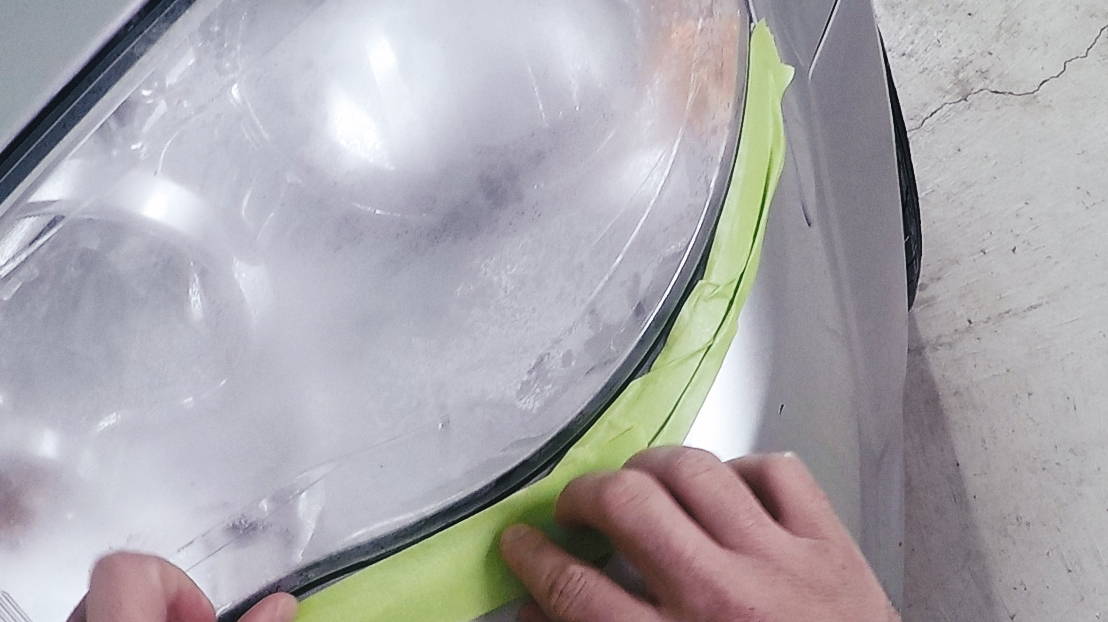
1. Apply masking tape around the headlight:
Use masking tape to cover any adjacent surfaces like painted areas or trim. This will prevent accidental scratches or damage during the headlight restoration process to painted areas.

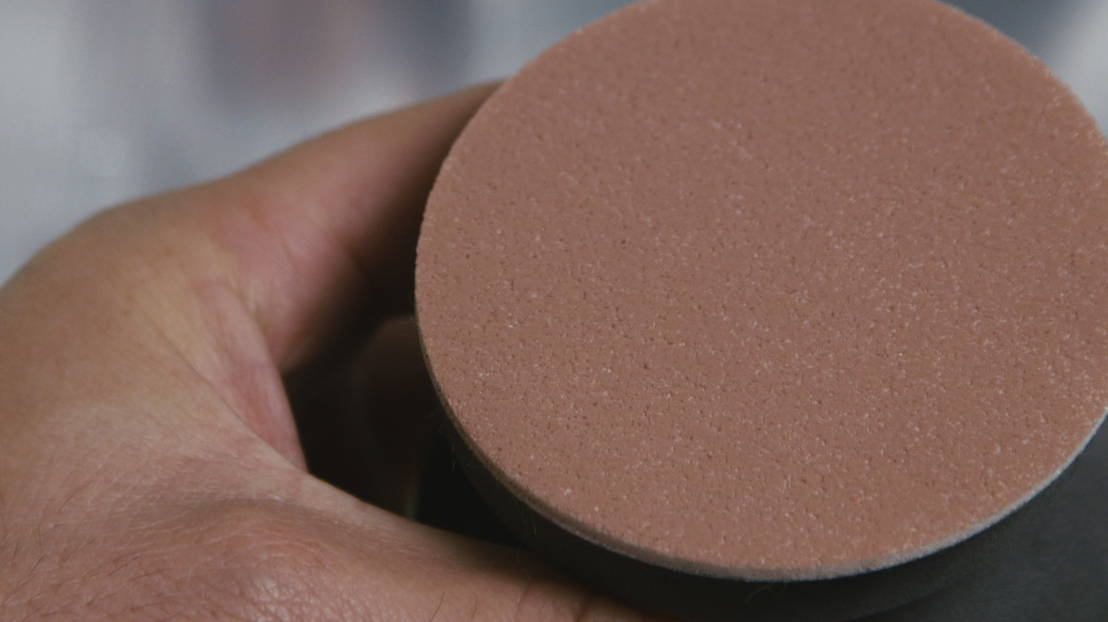
3. Wet sand the headlight:
Using water as lubricant, spray the lens and begin to wet sand the headlight with a coarse sanding disk by hand, in a slow and steady back-and-forth motion. This process helps remove the top layer of oxidized plastic. Continually apply water with a spray bottle throughout this process. Continue sanding until you achieve a uniform haze on the entire headlight surface.
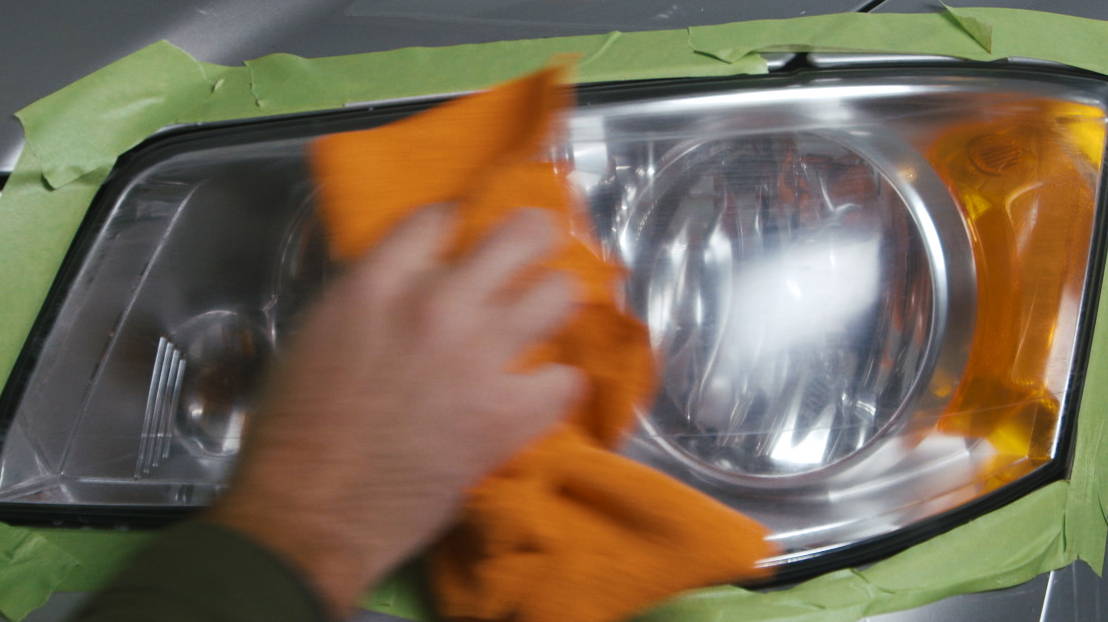
4. Wipe off the headlight and check progress:
Wipe off the lens with a dry cloth to make sure any yellowing and defects have been removed. The lens should have a white, evenly sanded surface, as if it were frosted.
5. Sand again with a finer grit disk:
Sand again in an up-and-down motion using a finer-grit sanding disk. Consistency is key in ensuring a clean finish.
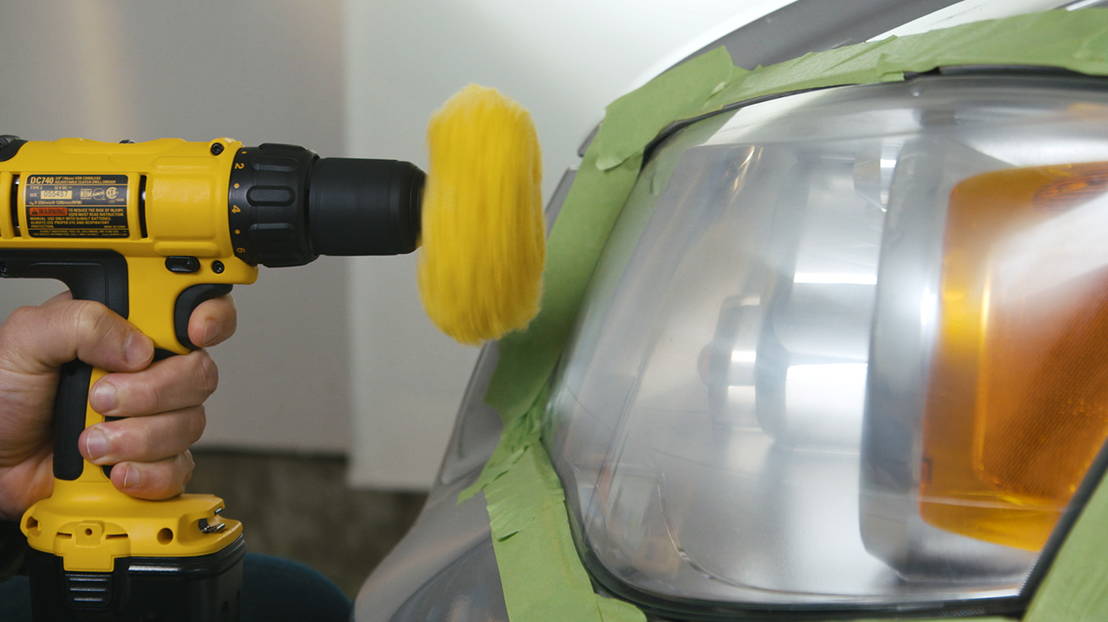
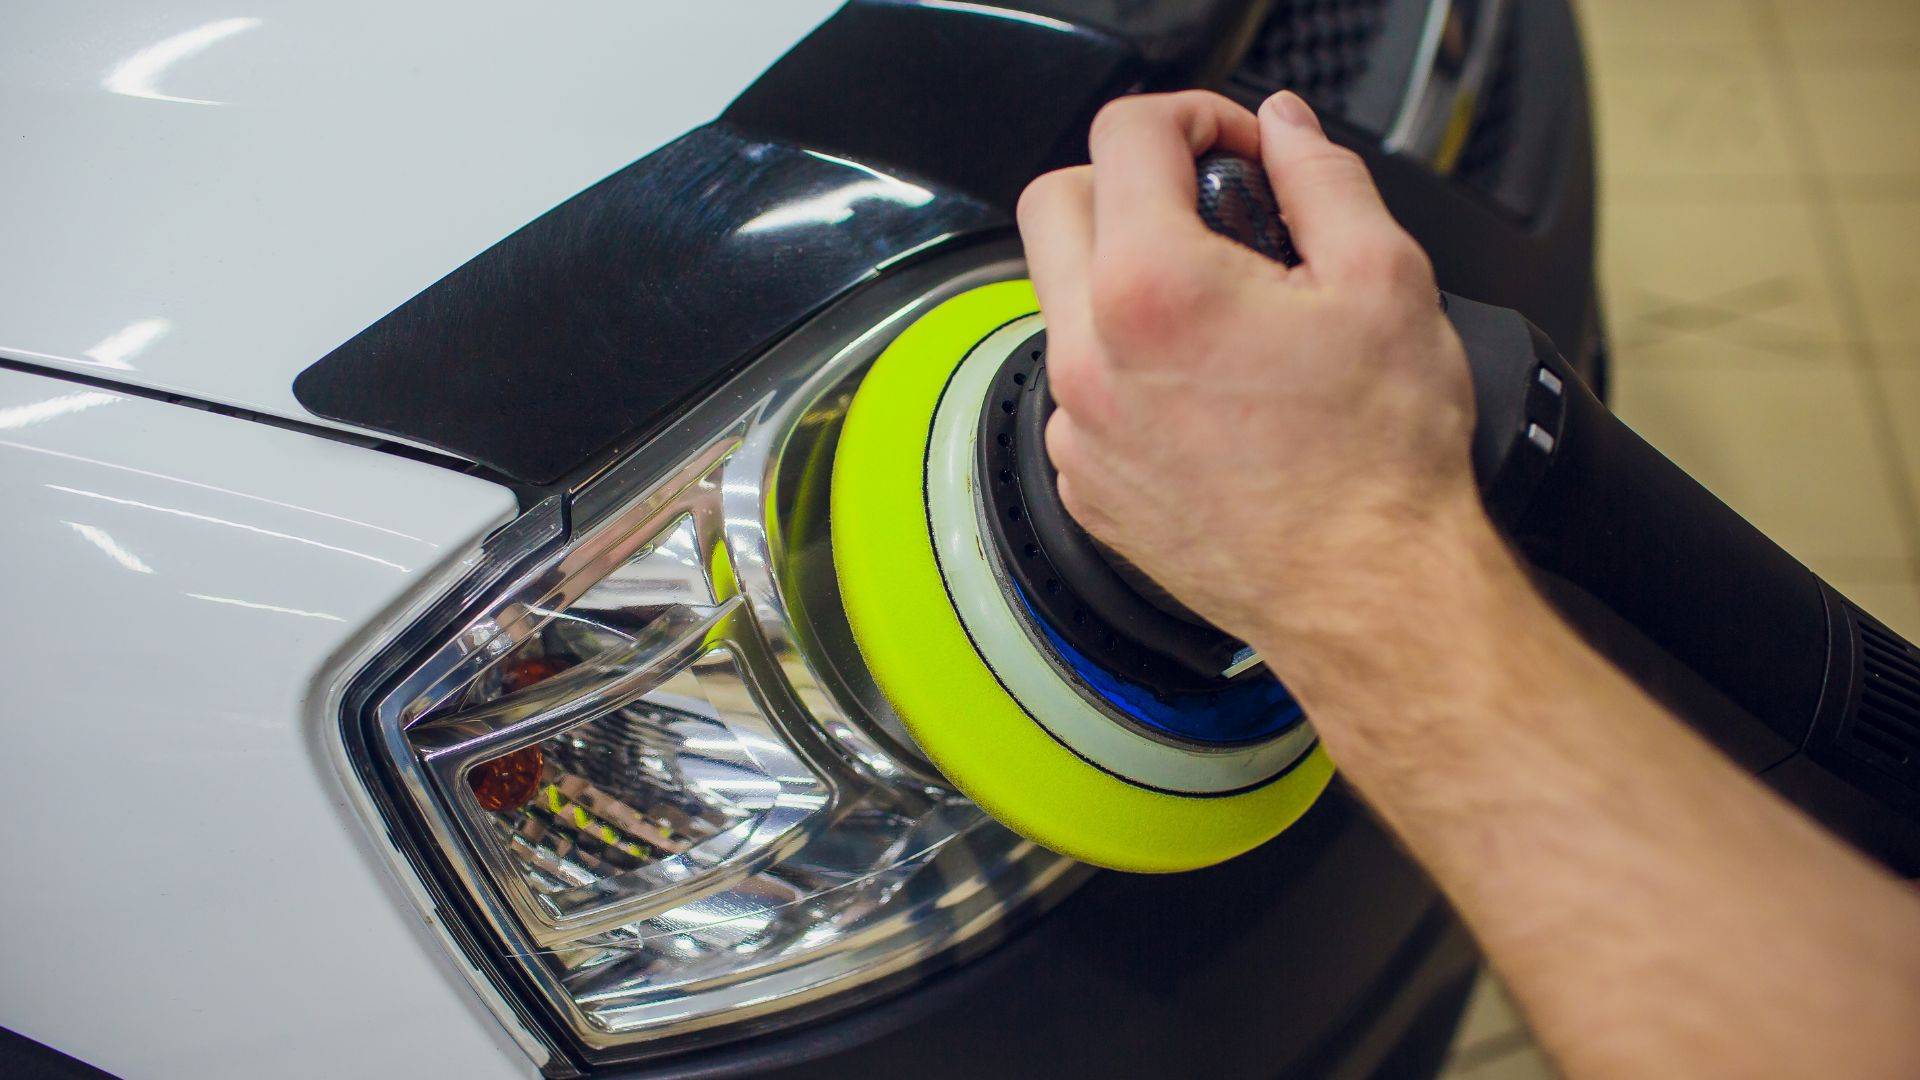
6. Buff the headlight with a drill and buffer attachment:
Wipe the surface area clean of any debris accumulated during the sanding process. Using a clean microfiber towel, or a buffing pad attached to a power drill, buff the headlight using a liquid compound designed for plastic surfaces. This step helps remove any remaining oxidation and enhances the shine and clarity of your headlights.
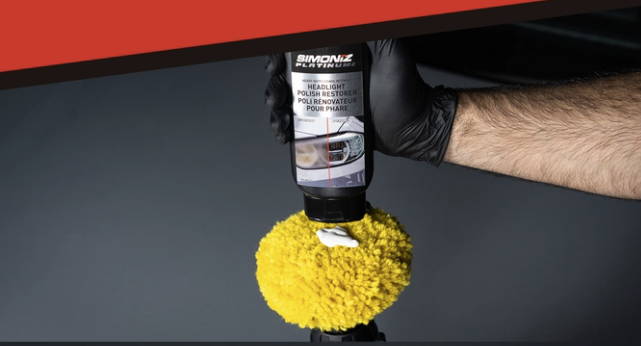
7. Apply headlight protectant:
Finally, for longer and lasting clarity, apply a headlight protectant. A headlight protectant will ensure that lenses will not yellow, fog, or oxidize within days of the sanding process, creating a durable shield on top of your newly refreshed headlight lenses.
By following this step-by-step guide to headlight restoration, you can bring back clarity, resale value, headlight performance, and improve safety on the road.
Visit https://www.partsource.ca/ to find a wide selection of headlight restoration products, and to learn more about car care and maintenance tips.
Related Products
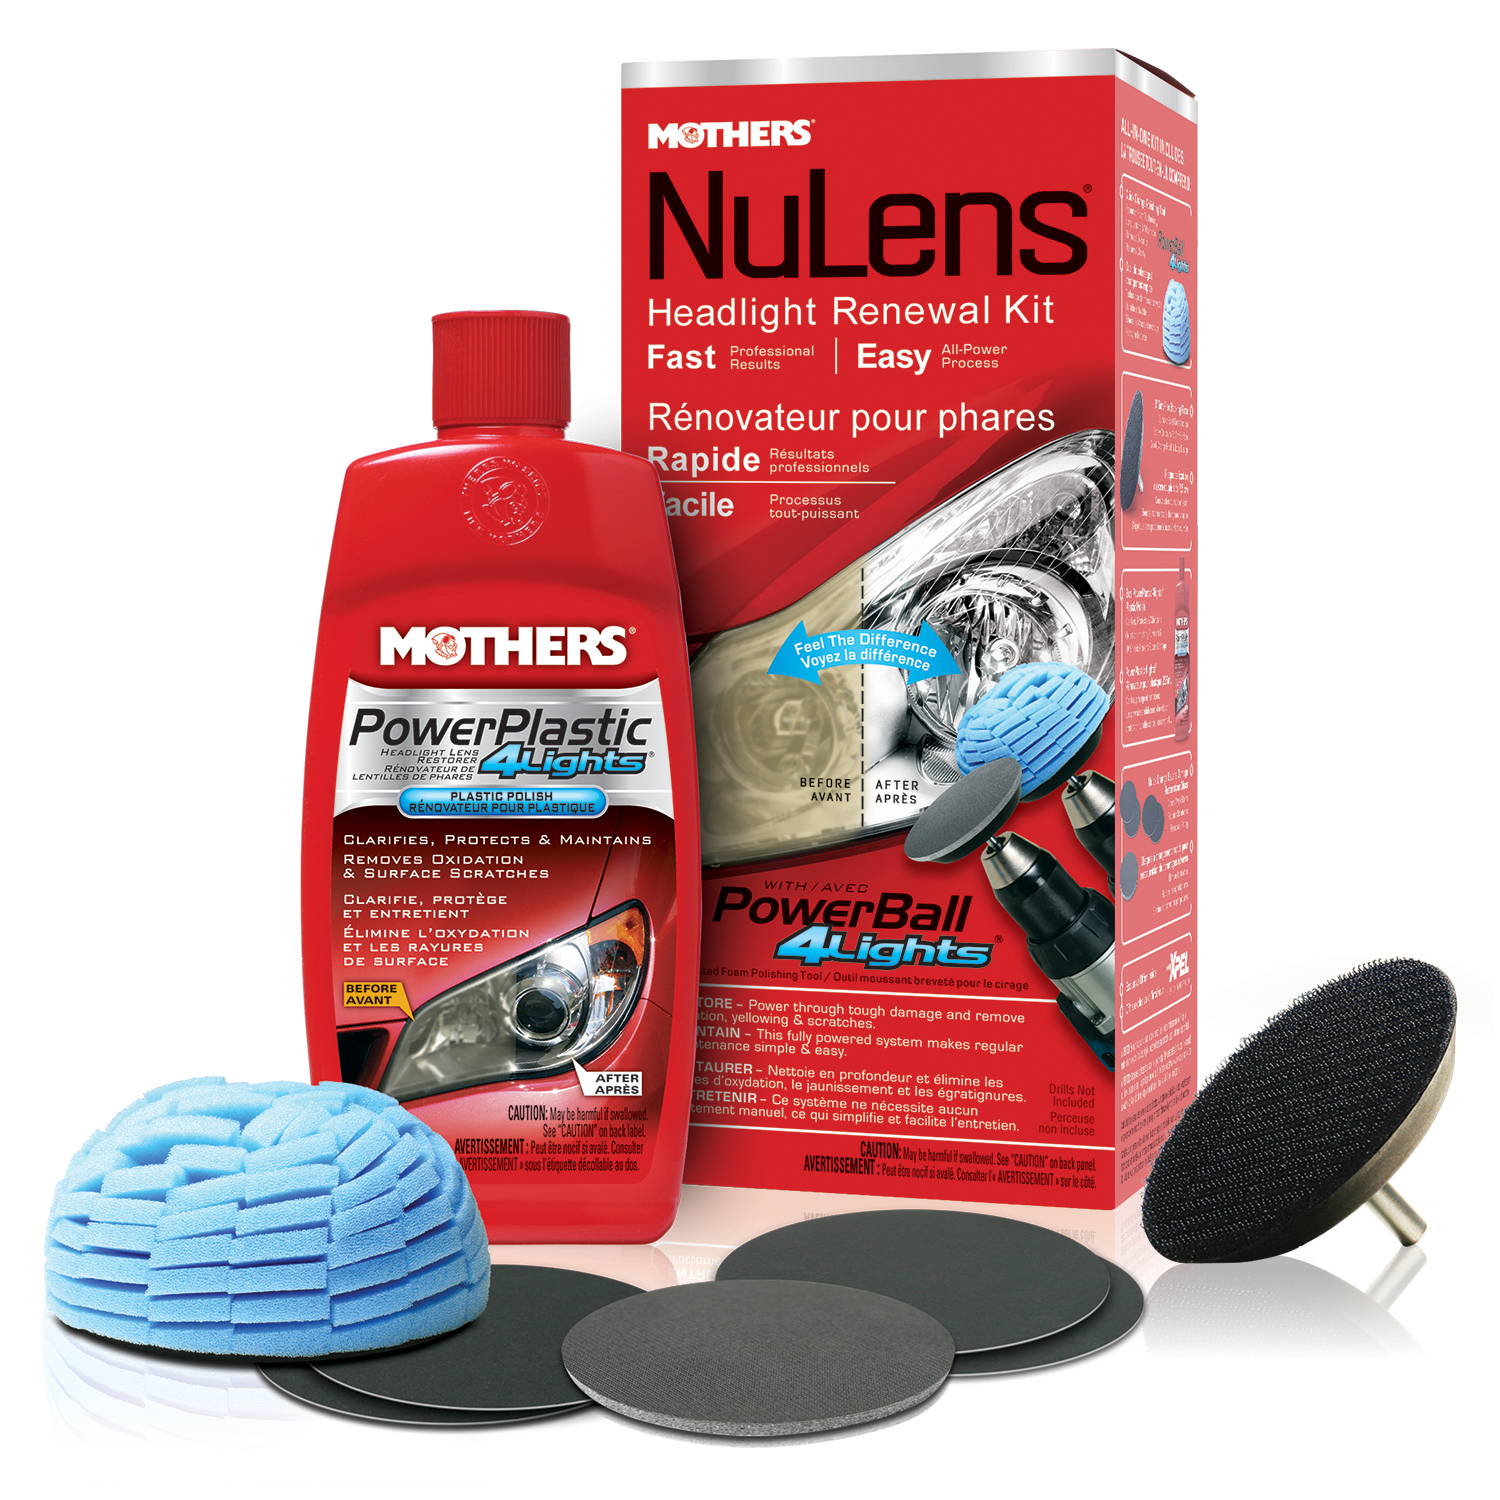
Mothers Car Headlight Restoration Kit
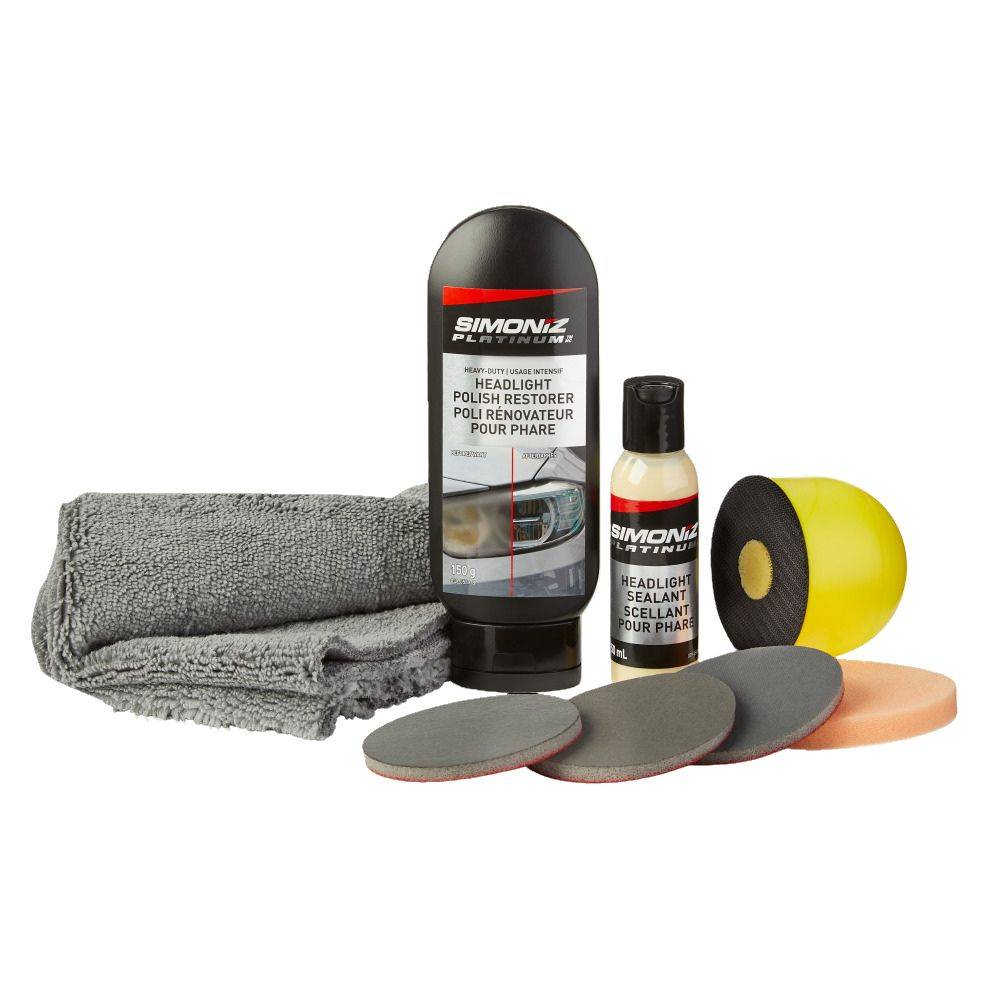
SIMONIZ Heavy-Duty Headlight Restoration Kit
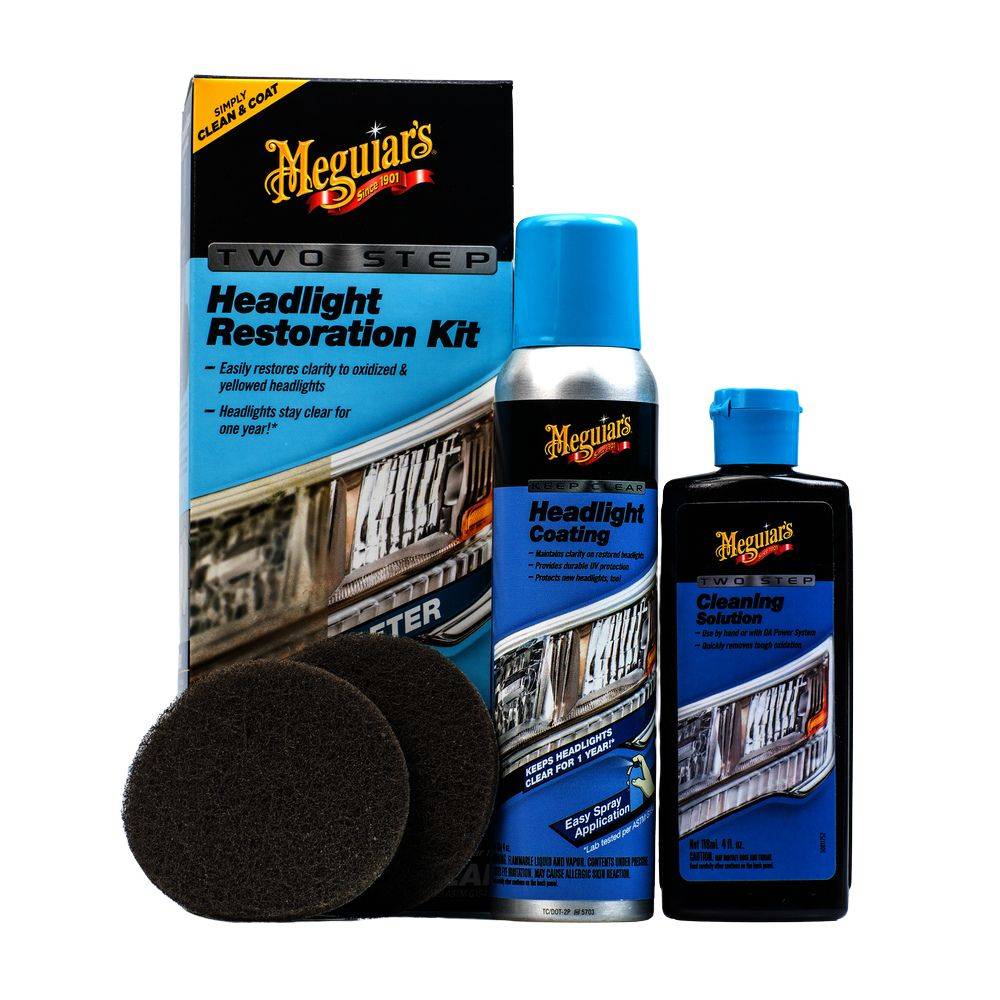
Meguiar's Two Step Headlight Restoration Kit
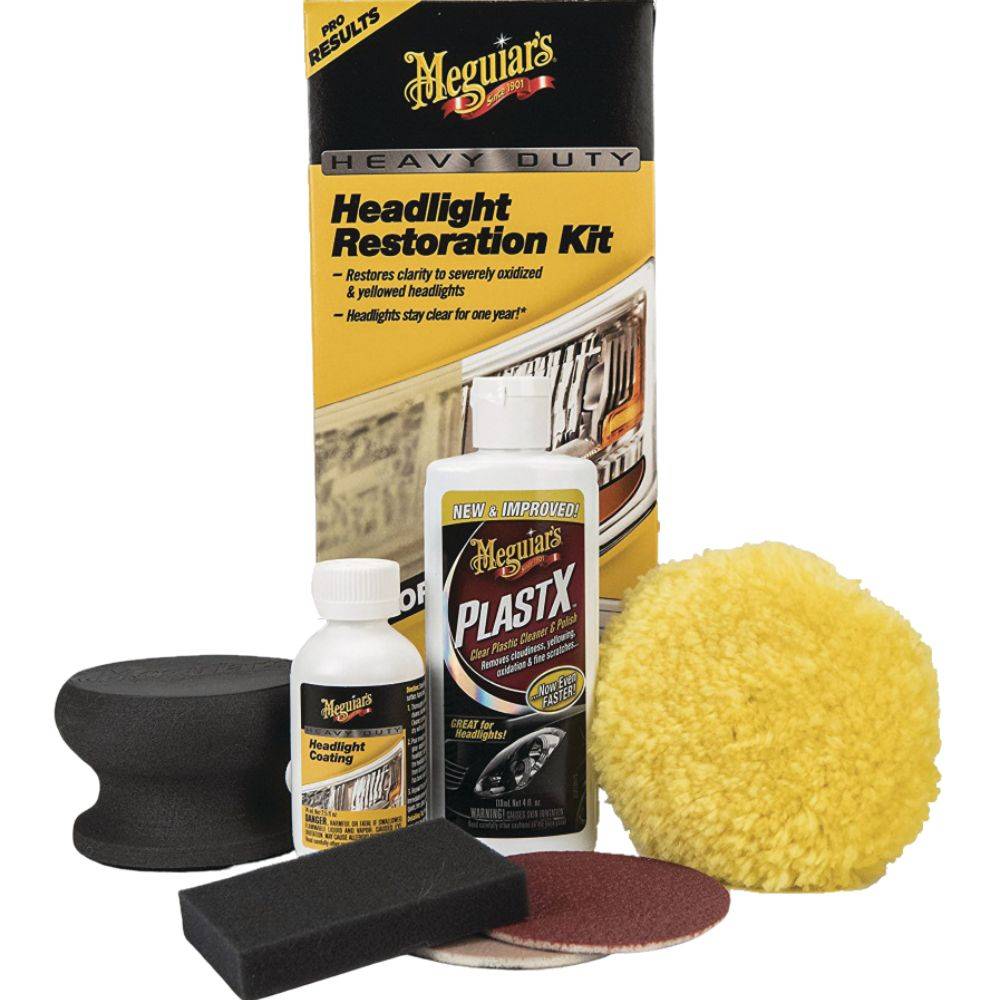
Meguiar's Heavy-Duty Headlight Restoration Kit