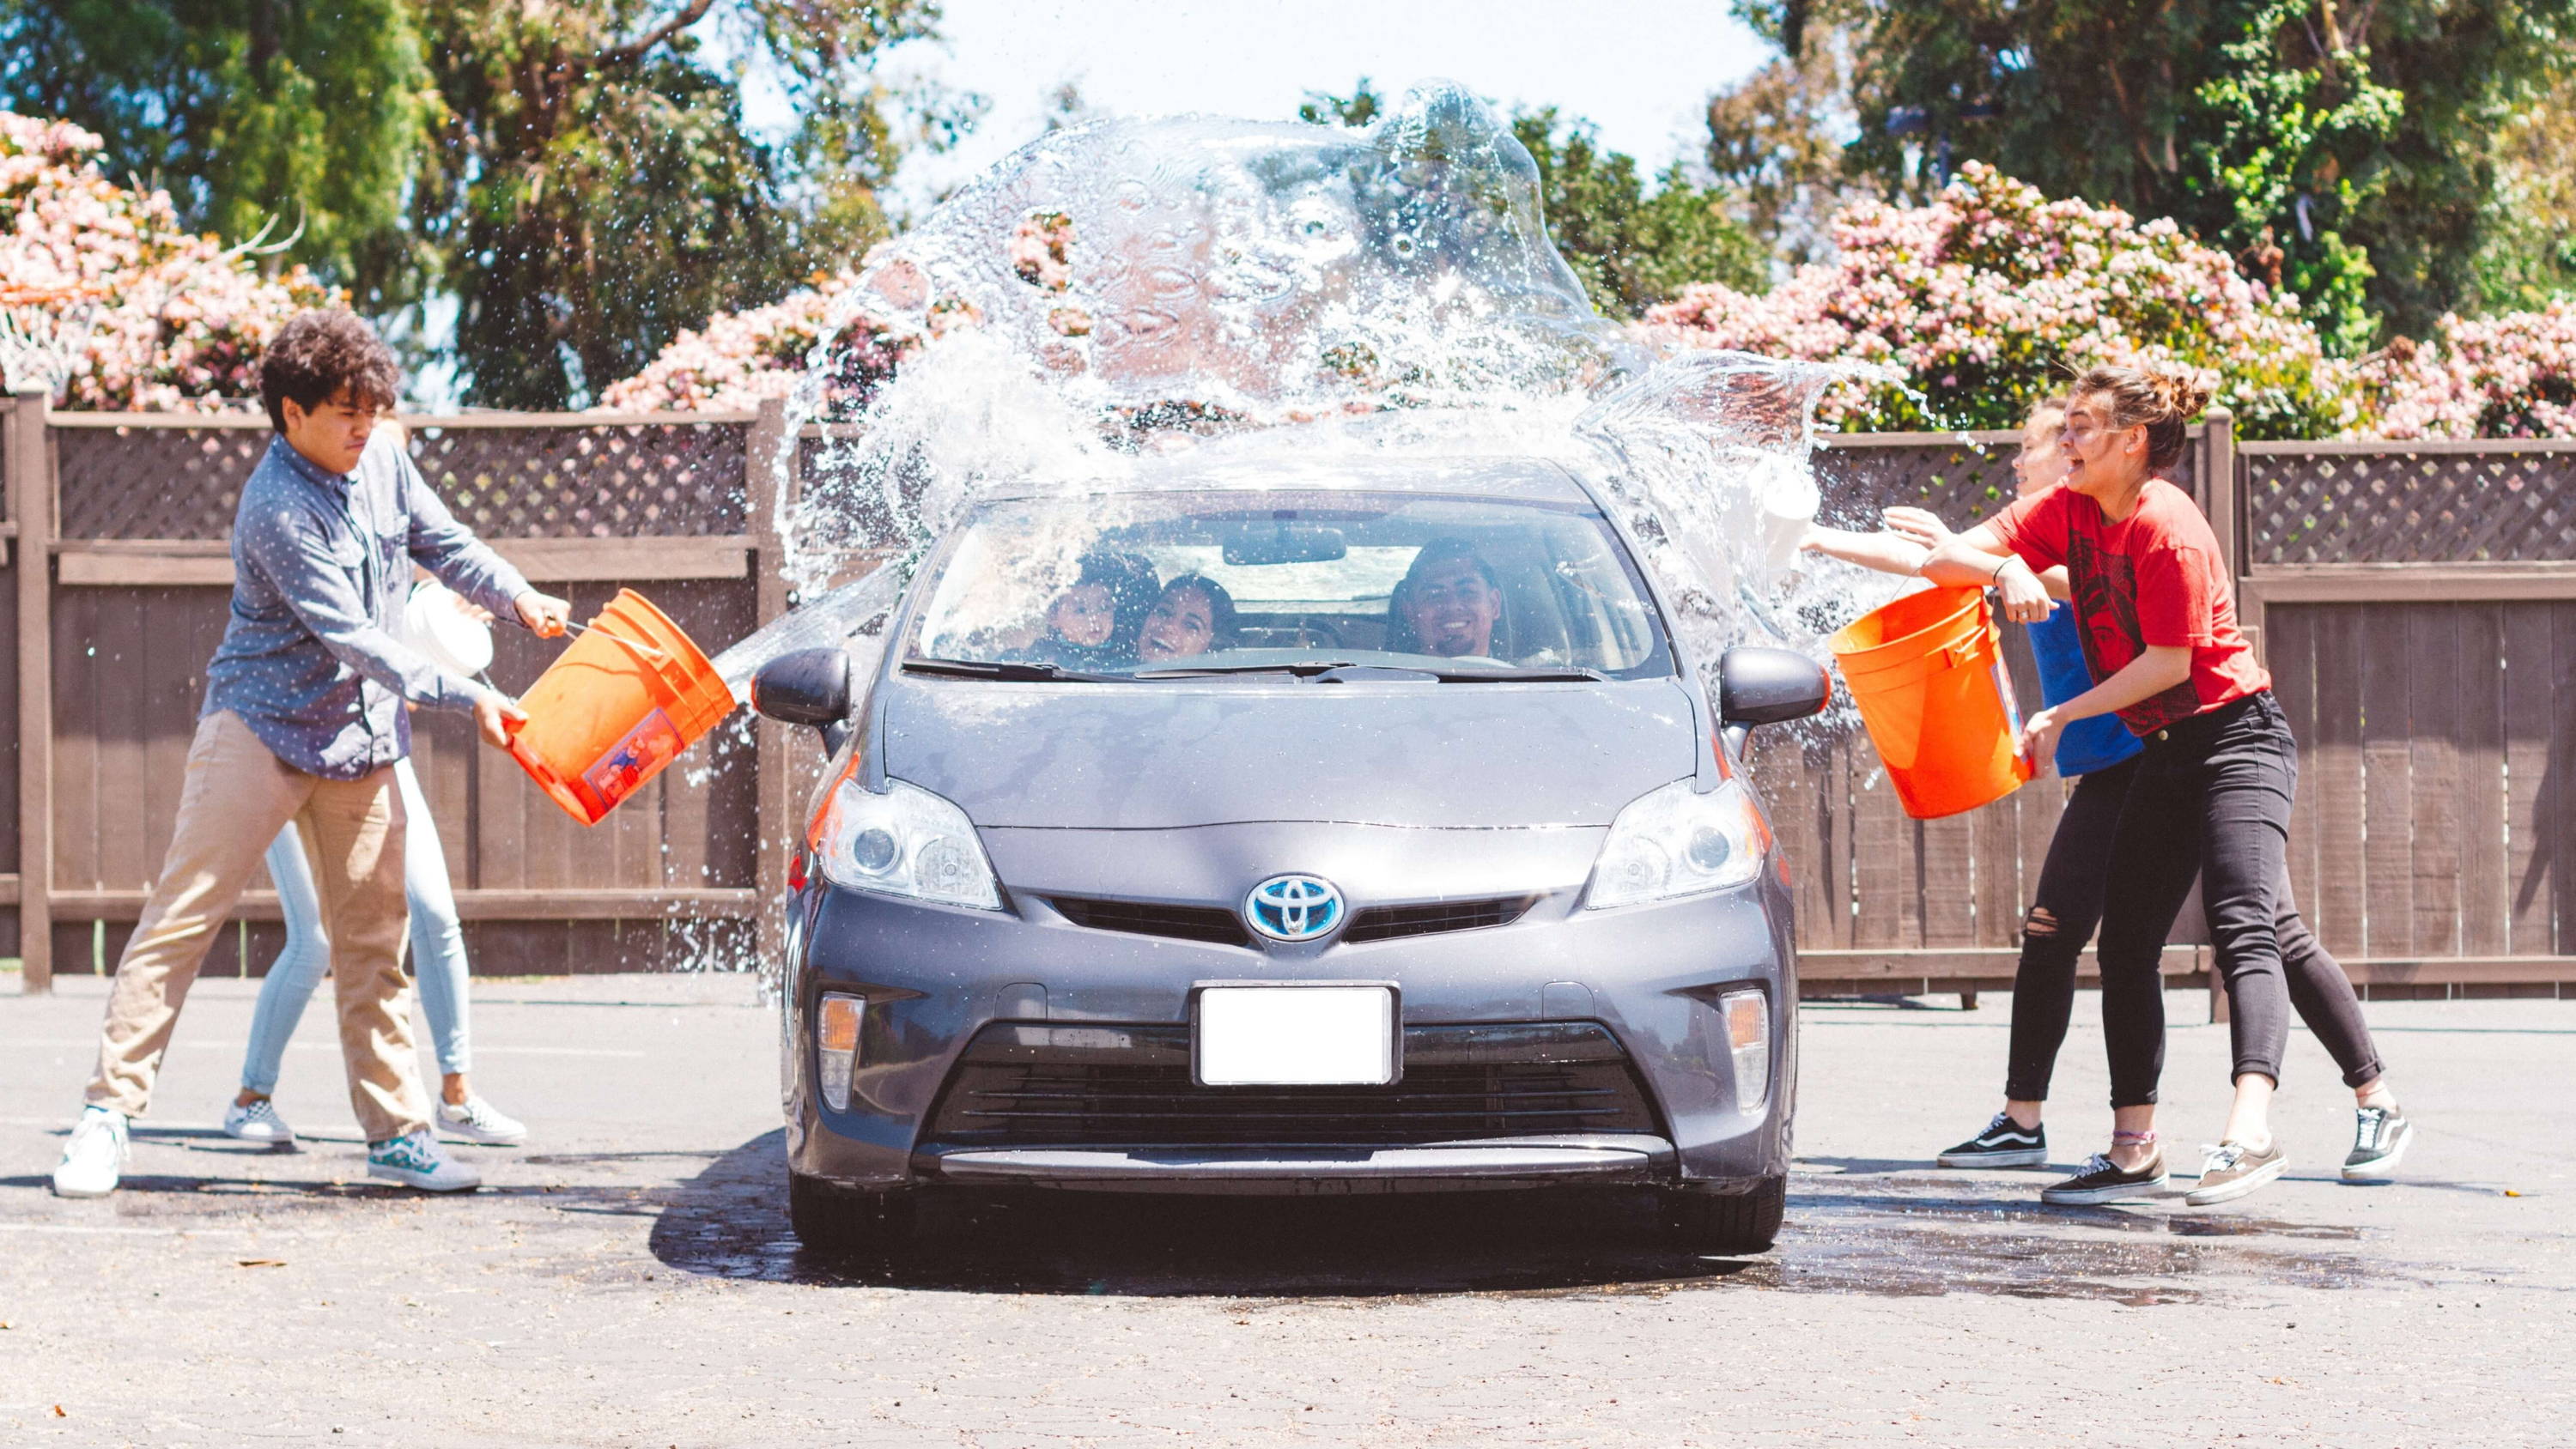
Car Wash Best Practices
So, you’re tired of paying people to wash your car and automated washes leave ugly scratches and swirls on your ride. You’re ready to take the next step and wash your own car, but where do you start?
Fear not, this article will explain all the car washing tips and tricks to get your ride looking like it was cleaned by a professional detailer!
Detailing 101: The Basics
First, you're going to need some supplies to build your car washing kit. Every car loving owner should own the following:
- A super slick car wash
- A soft microfiber wash mitt
- Two sturdy buckets
- Two dirt traps
- A super absorbant microfiber drying towel
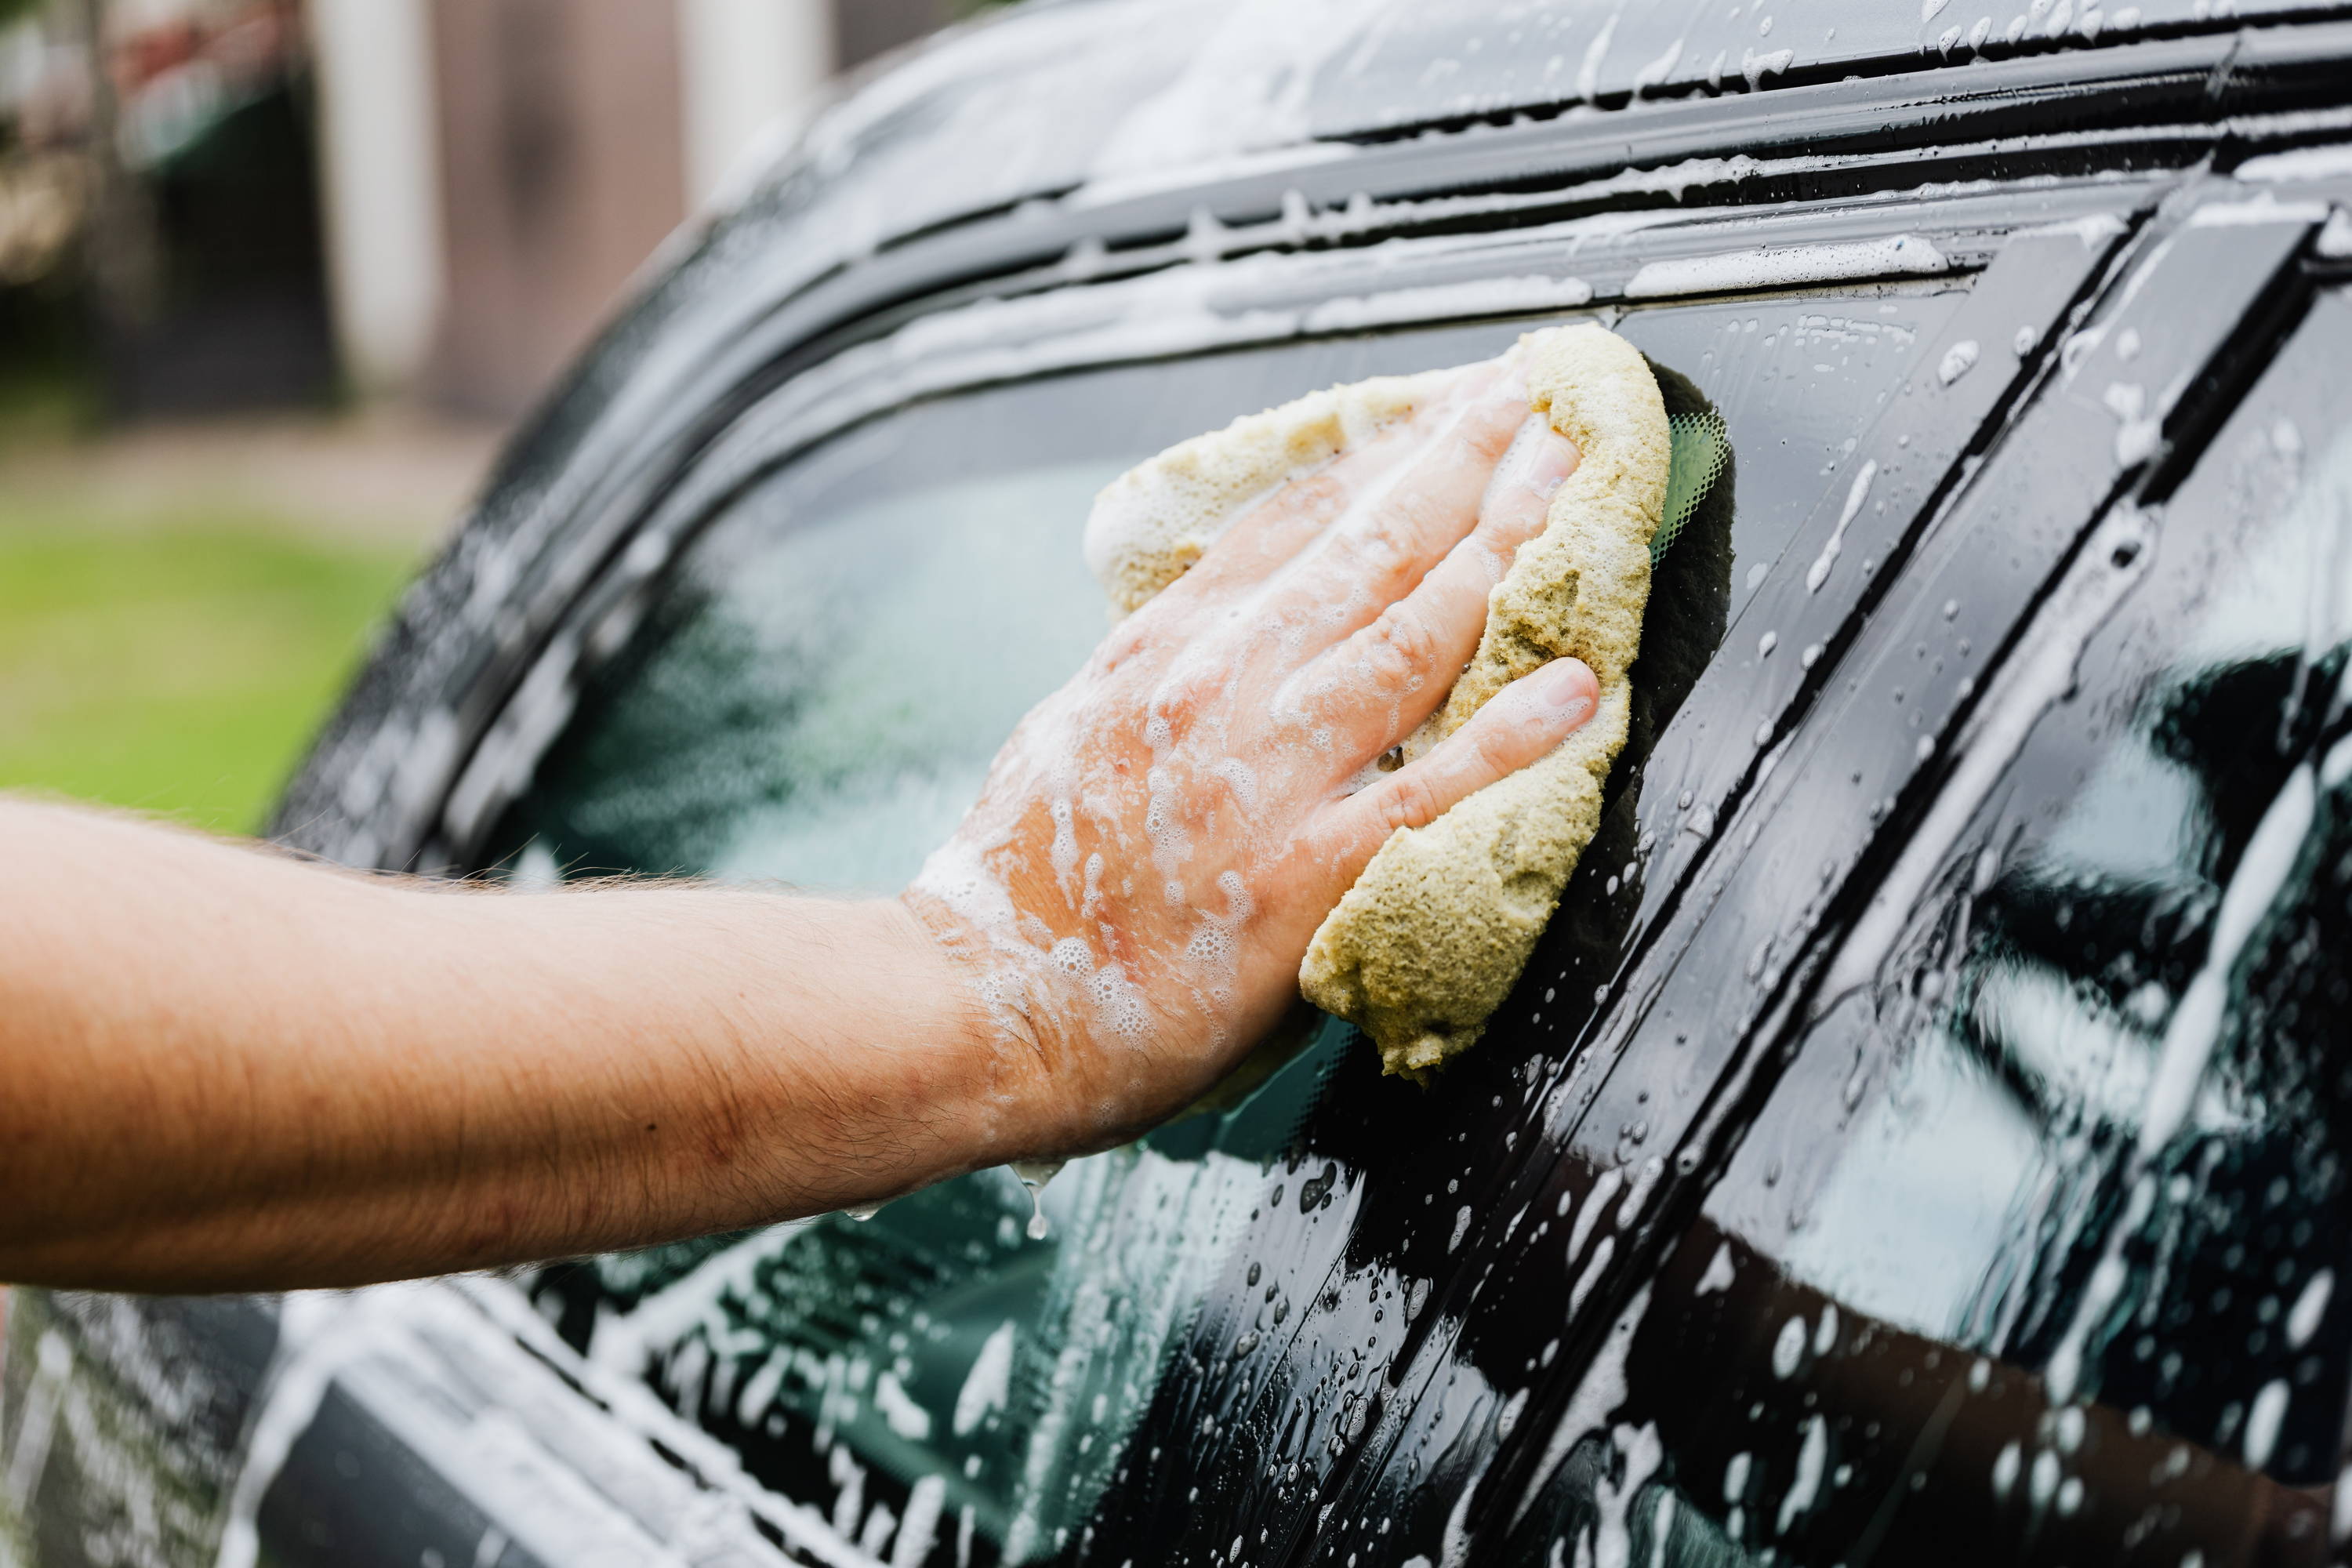
Two Bucket Method
Mistakes To Avoid:
1. Using the wrong towels and accessories – or the right ones, but they are dirty
Using poor quality or dirty towels and accessories may cause swirls and scratches during washing and drying. Instead, use premium, clean wash mitts and drying towels, like microfiber towels and wash mitts, to avoid this mistake. Already doing so? You may be using the right towel or mitt, but make sure it’s not dirty. Utilize the “Two Bucket Wash Method” to help keep your towel/mitt clean and minimize the risk of swirls & scratches while washing. One bucket for the car wash soap, and one with just water for rinsing.
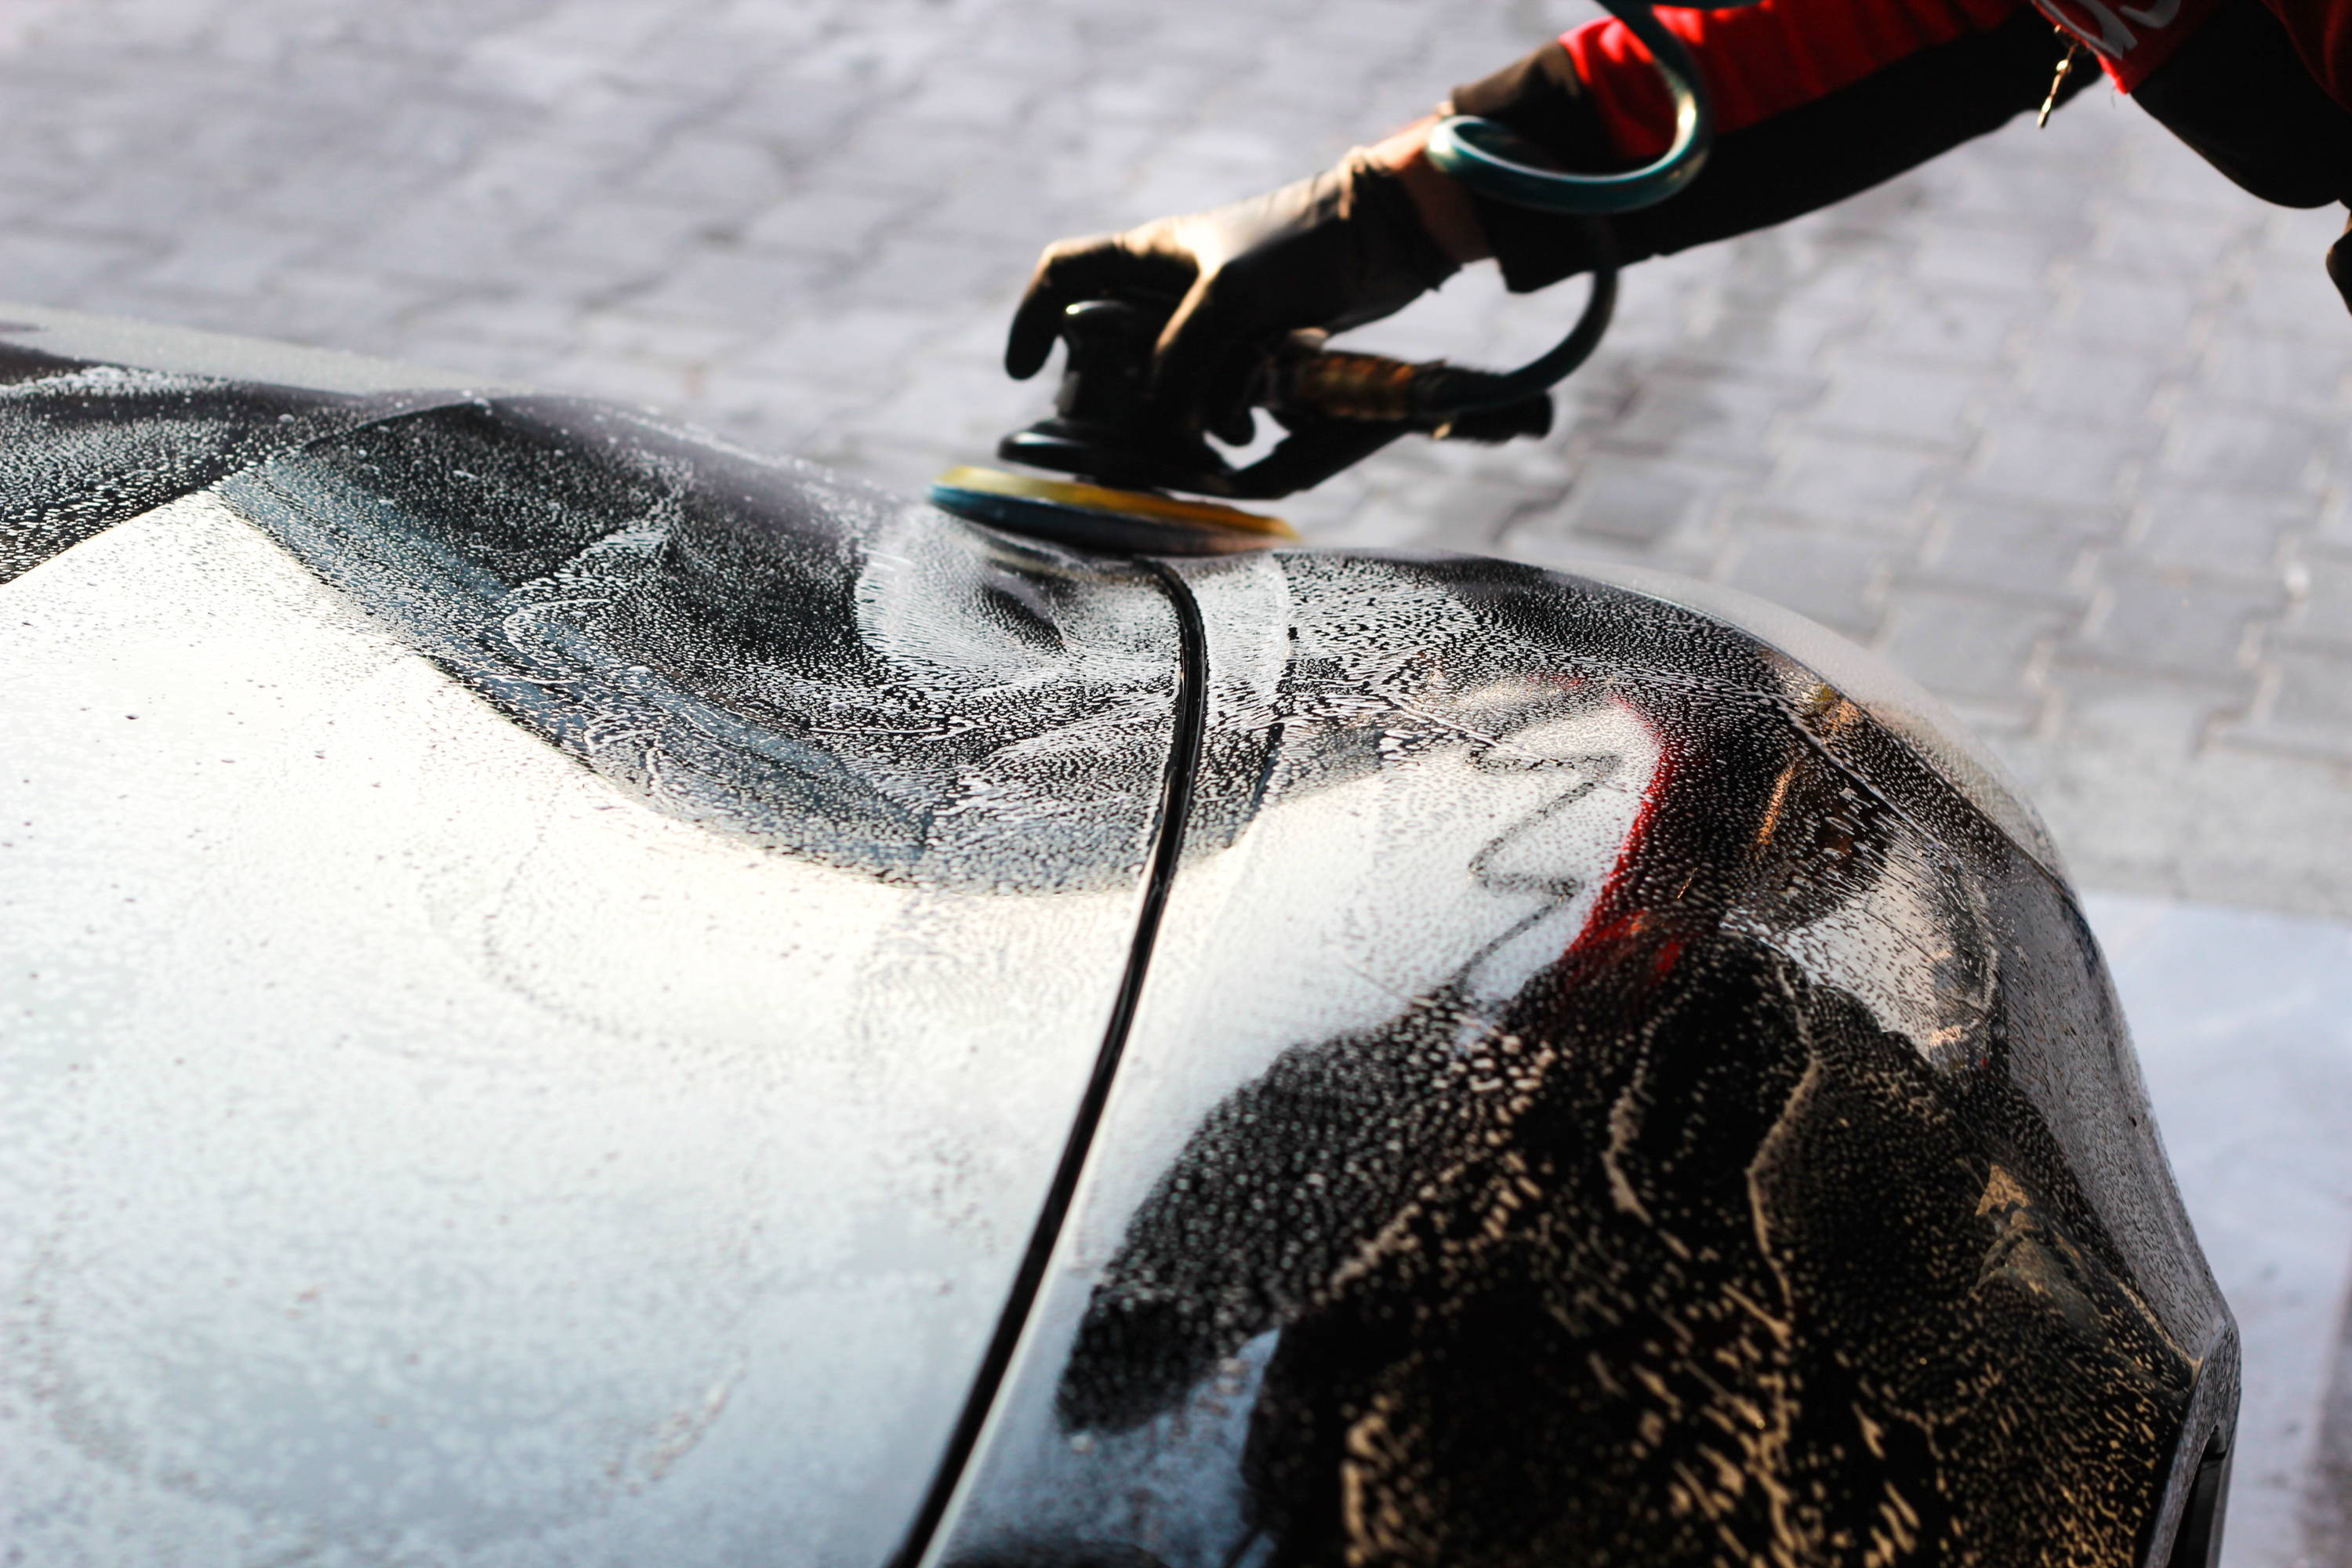
2. Waxing before you cleaned and polished.
Adding a layer of wax is designed to add protection to your vehicle. Waxing before cleaning and/or polishing may diminish the results of the protection you just added. If you just wash and wax without removing any above surface bonded contaminants with a clay, such as Smooth Surface Clay Kit, you risk the overall performance and longevity of the wax protection. And, if you wax before using a premium compound to correct any swirls or scratches, they will unfortunately still be visible.
3. Washing your car in direct sunlight.
To minimize the chance of water spots, always wash your vehicle in the shade and ensure the surface is cool to the touch.
4. Not reading the label and following instructions.
Using good technique is the best way to get the results you are looking for. Always check the instructions on the label.
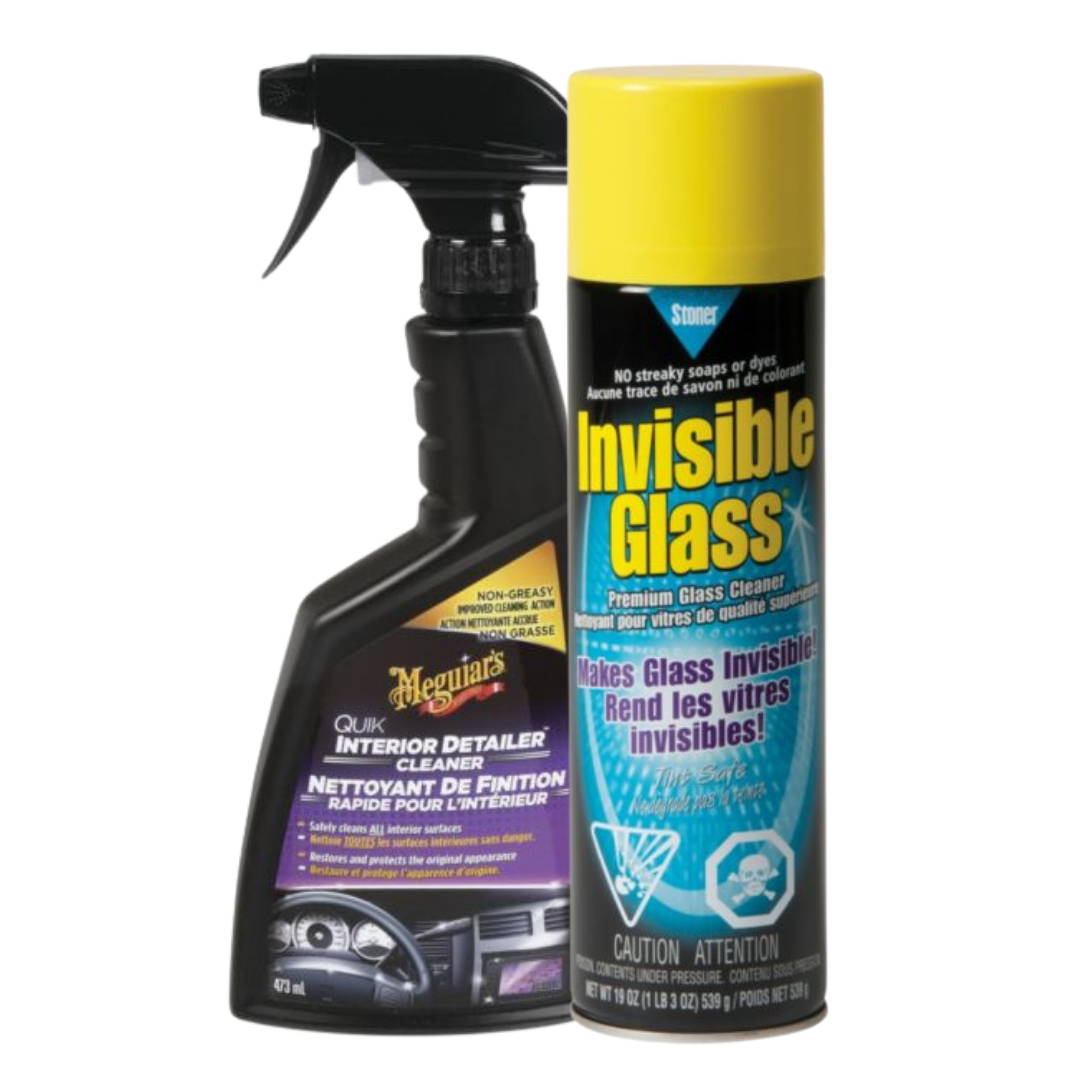
Glass Cleaner
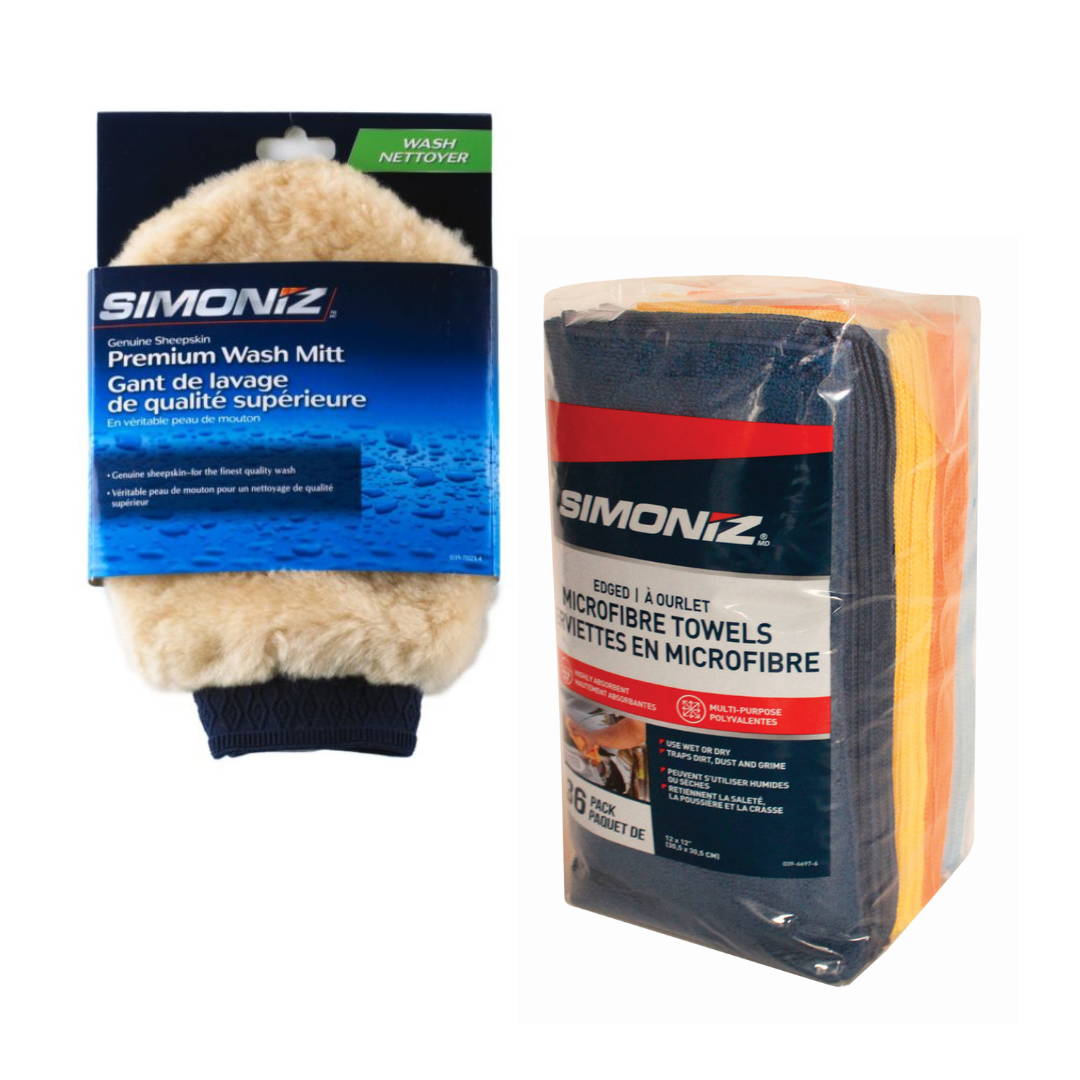
Towels & Sponges
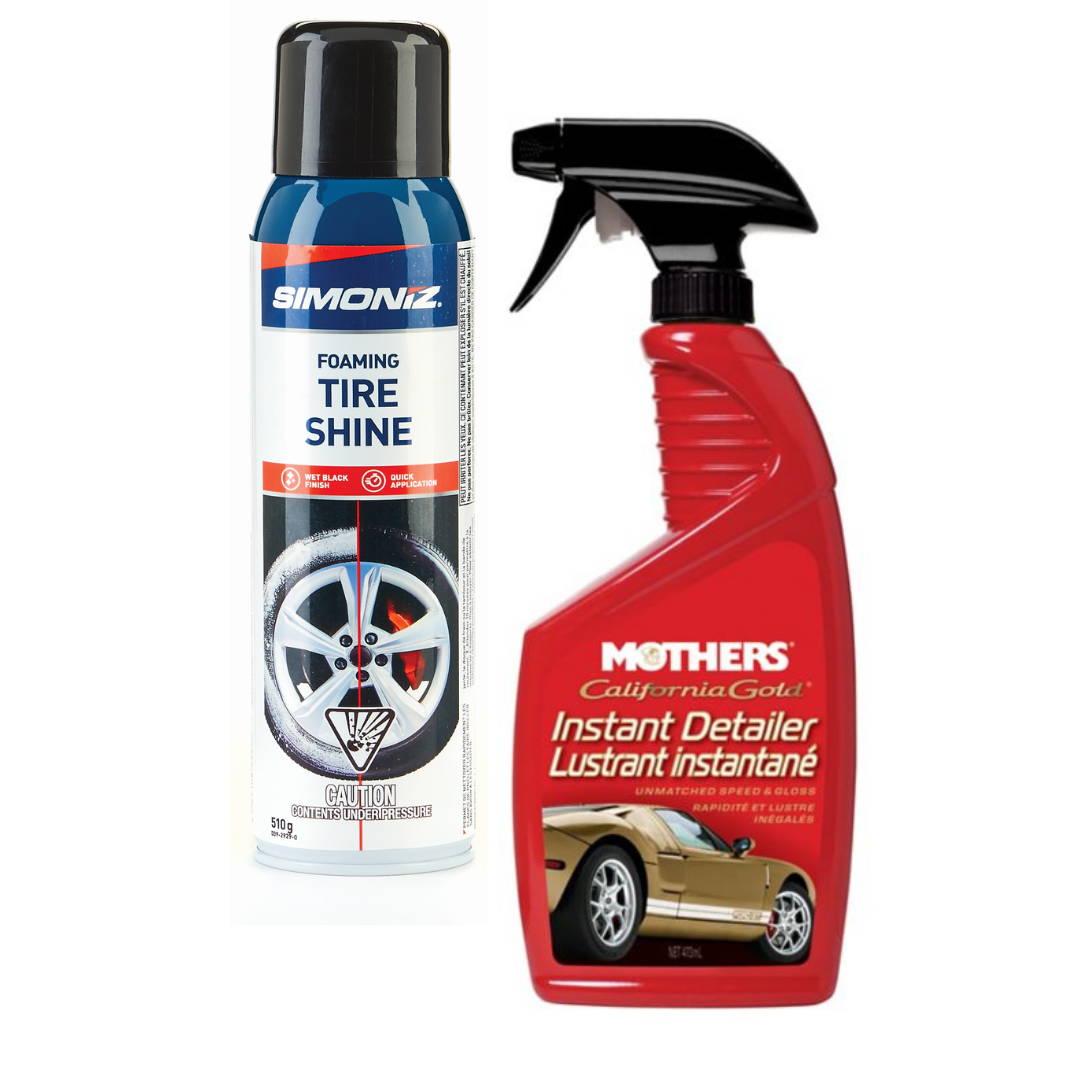
Tire Foam & Shine
Tips and Tricks:
It’s warming up across the country, which signifies spring cleaning season. For readers who’re preparing to spruce up their cars in the weeks and months ahead, the experts at Partsource share a few tips and tricks for your spring car care.
1. Make sure you are using the correct products and following the directions on the label. It is key to evaluate the surface of your car to determine what needs to be done first and then use the right products correctly to accomplish what you are looking for.
2. Rinse thoroughly before washing to get rid of any loose debris. This helps prevent the possibility of additional scratches from excess debris on your car.
3. Use two buckets – one for the wash solution and one with plain water to rinse your towel or mitt during the wash process. Using two buckets can minimize the risk of swirls and scratches.
4. Evaluate the surface after washing to determine if additional claying, compounding or polishing is needed prior to applying a protective wax barrier.
5. Sprinklers are your enemy – the important thing about making your car look good is keeping it that way. A car that was hit by a sprinkler will have dried-on watermarks and will require additional care. If your car is hit by a sprinkler, Spray wax detailer or waterless wash is the perfect choice to remove water marks and prep the surface for a reapplication of a protective coating of wax.
6. More is not better when it comes to applying a wax – remember that thin, even coats are best.
7. Spray detailers are designed for maintenance. They keep a great looking vehicle looking its best. They are not designed to scrub off the winter grime and make your car spring and summer ready - a more in-depth process is needed for that.
8. Always match your wheel cleaner to your wheel. Some cleaners can cause damage if not used on the right type of wheel.
9. It is a good idea to test interior products in inconspicuous areas before applying to the entire surface. This will ensure the right product, result and experience.
Visit https://www.partsource.ca/ to find a wide selection of car care products, and to learn more about car care and maintenance tips.